Top 10 Must-Have Studio Equipment for Professional Music Production
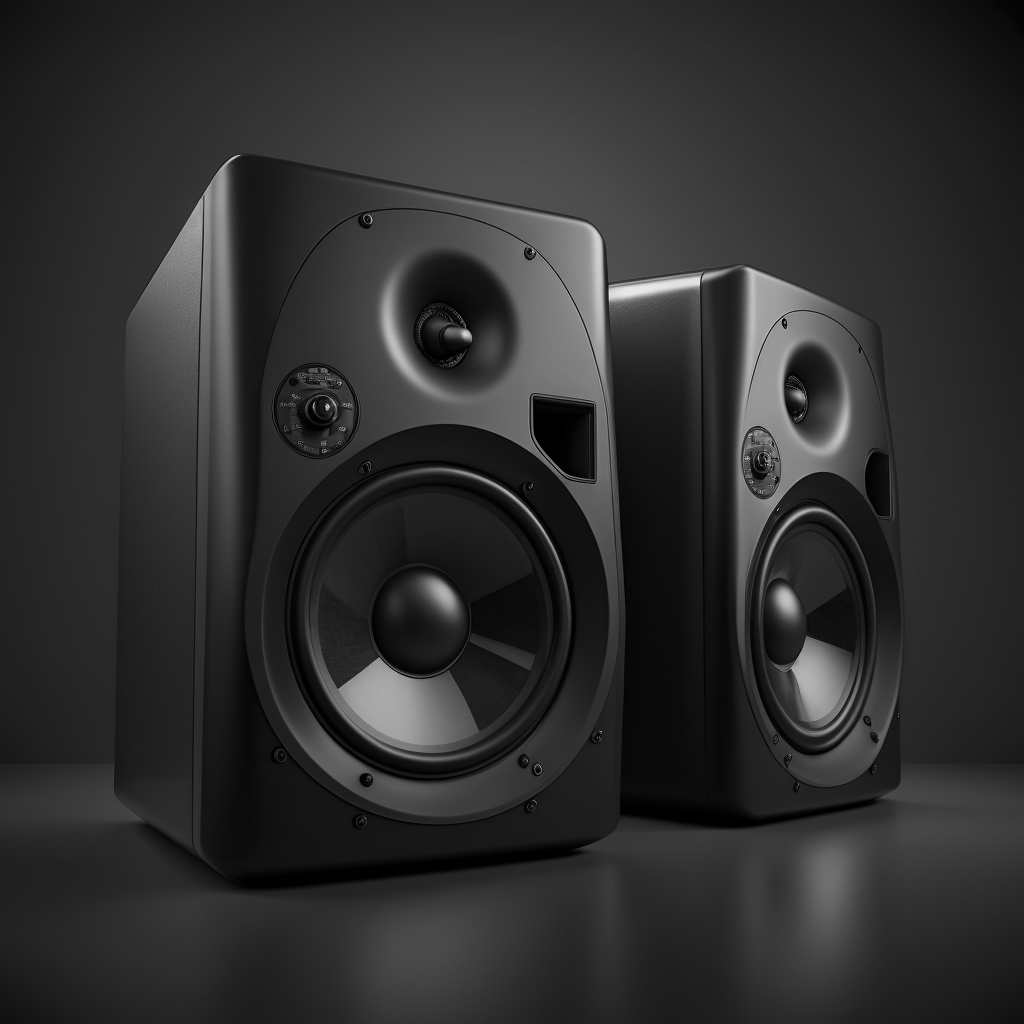
Do you write, record, and/or produce music? In this article, we share the 9 must have studio equipment for your music production.
Do you write, record, and/or produce music? In this article, we share the 9 must have studio equipment for your music production.
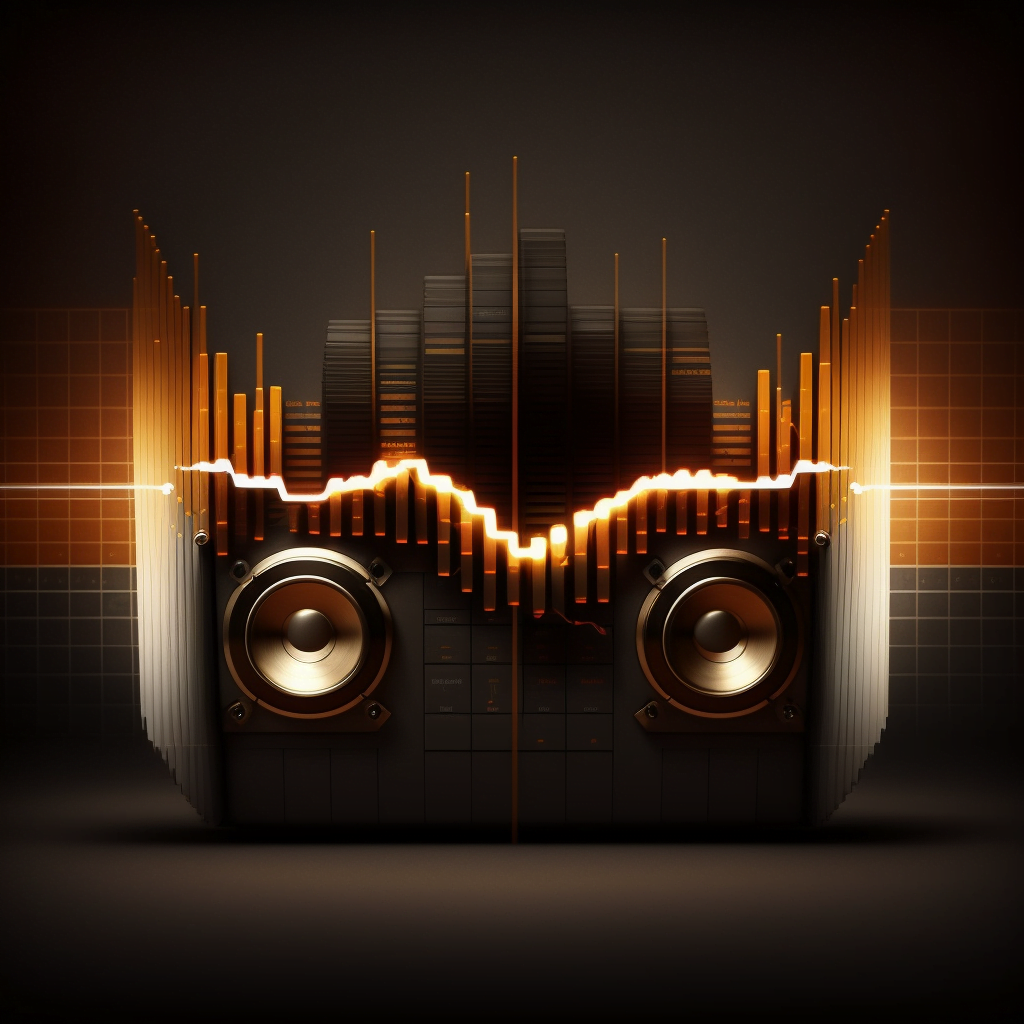
Audio engineering is a fascinating field that involves using technology to enhance sound. In this article, we discuss the value of audio engineering in music.
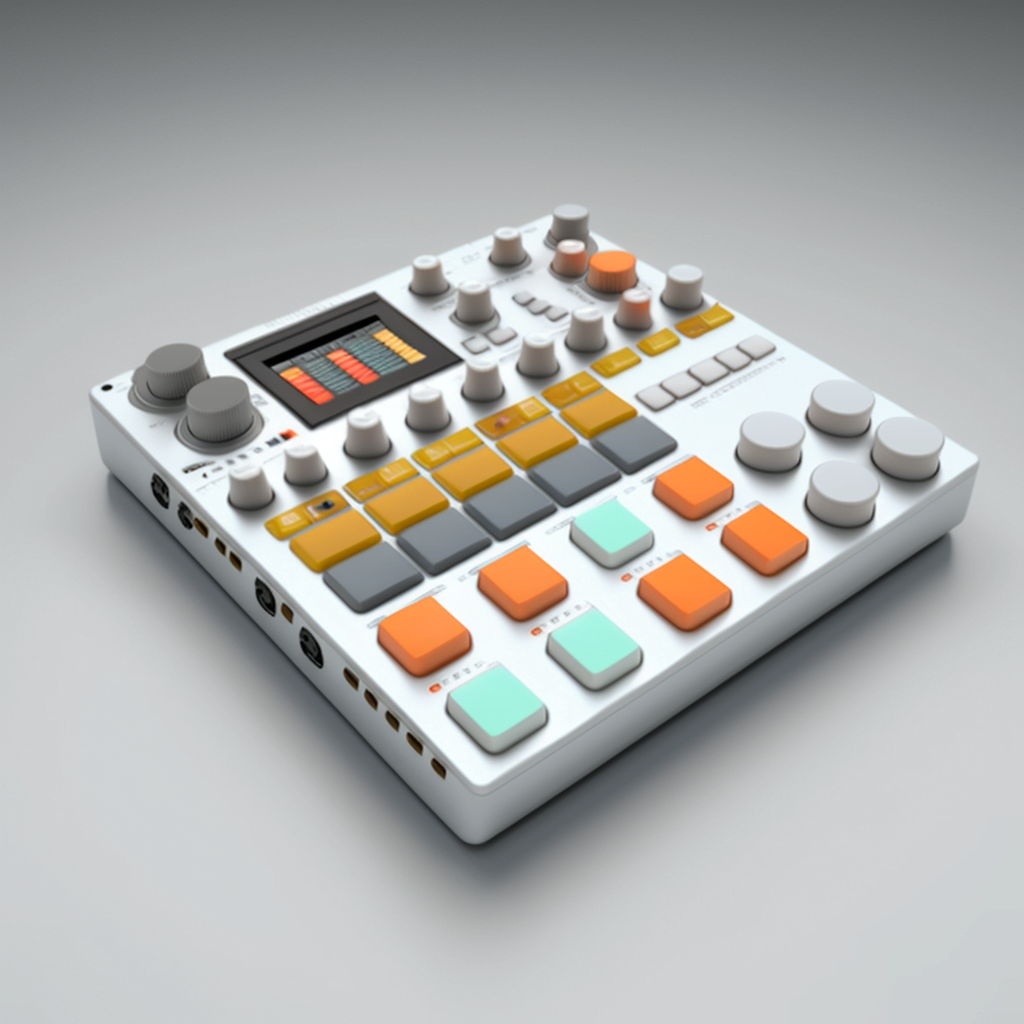
MIDI controllers are an essential tool for music producers. In this article, we share 6 of the best MIDI controllers on the market.
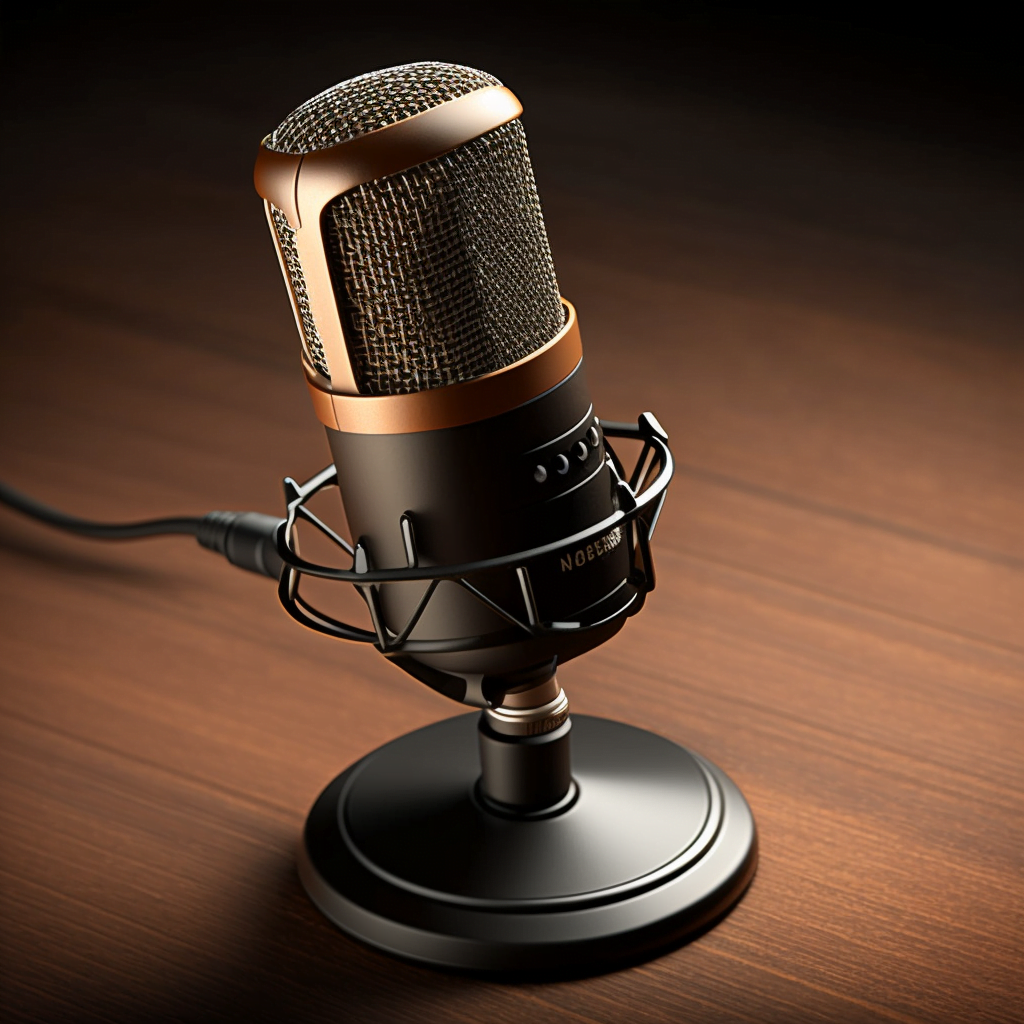
When it comes to music production, having a good microphone is essential for capturing high-quality recordings. In this article, we discuss 9 great microphones.
Want to understand gain staging? In this article, we explain what it is and share the 5 steps for doing it properly.
Compressor vs Limiter, which one is better? In this article, we discuss the differences between the two.
EQ is a must-have tool used in music production and audio engineering. In this article we discuss the 5 best tips for equalization.
Music production is the process of creating a musical composition and refining it until it’s ready for distribution….
Here is my list of the top choices for your next Woodwind VST library. #1 is Berlin Woodwinds, #2 is…