Table of Contents
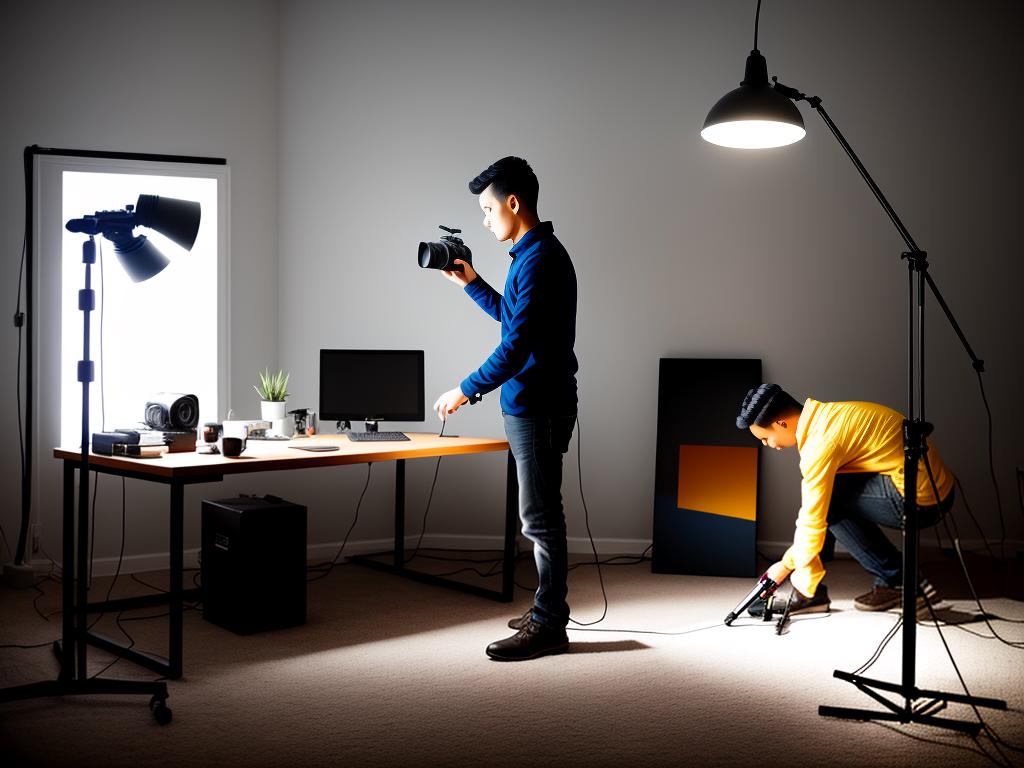
Introduction to Home Studio Lights
The world of photography and home studio lighting can be overwhelming. A solid foundation of light basics, can significantly transform your approach.
In this article, we’ll help you master home studio lighting. Every point will contribute toward the final goal: setting up your personal home studio that reflects your understanding and creativity.
Recommended Lights
1. Key Light (Elgato Ring Light)
Elgato Ring Light: Link
2. Softbox Light
Softbox: Link
3. Backlight
Govee Smart LED: Link
Understanding Light Basics
Understanding Light Basics: An Introduction to Home Studio Lighting
Setting up your home studio lighting system might seem daunting at first. But, by understanding the basic principles and techniques of lighting, you can create professional-level photos right from your home.
A critical part of mastering photography is learning about key light, fill light, and backlight, as well as comprehending the importance of the color temperature of light.
Key Light, Fill Light, and Backlight
In photography, the key light, fill light, and backlight each serve a unique purpose.
- Key Light: This is your main light source, typically the brightest light in your scene. It sets the overall look and feel of your image. Usually, to add dimensions to your subjects, you should place your key light at a 45-degree angle.
- Fill Light: Your fill light eliminates the shadows created by the key light. However, you should ensure that it is less bright than the key light to maintain a natural look. You often place the fill light opposite the key light.
- Backlight: A backlight helps to separate your subject from the background, enhancing depth and dimension. It is generally positioned behind the subject, often at an upward angle.
To practice with these lighting types, start by adjusting one light at a time. Start with your key light, then add in your fill light, and finally incorporate your backlight. Take note of how the addition of each light impacts your image.
Understanding Color Temperature
Color temperature is a vital aspect of lighting in photography. It refers to the warmth or coolness of light and is measured in Kelvin (K). As color temperature increases, the color of the light shifts from red to yellow, white, and eventually blue.
Lower color temperature (around 2000K-3000K) yields warmer, reddish light, while a higher color temperature (above 5000K) affords cooler, bluish light. Daylight is approximately 5600K and achieves a neutral color balance.
Understanding this concept can dramatically influence the mood and feel of your photos. For example, if you want a cozy, intimate feel, you would opt for a lower color temperature, while a higher color temperature might be suitable for a crisp, energized look.
Setting up home studio lighting involves more than just placing lights around your subjects. With a clear understanding of lighting basics, from the roles of key, fill, and backlights, to comprehending color temperature, your photos will significantly improve. Experiment with different light placements and color temperatures to create distinct, beautiful, and mood-matching images.
Types of Studio Lights
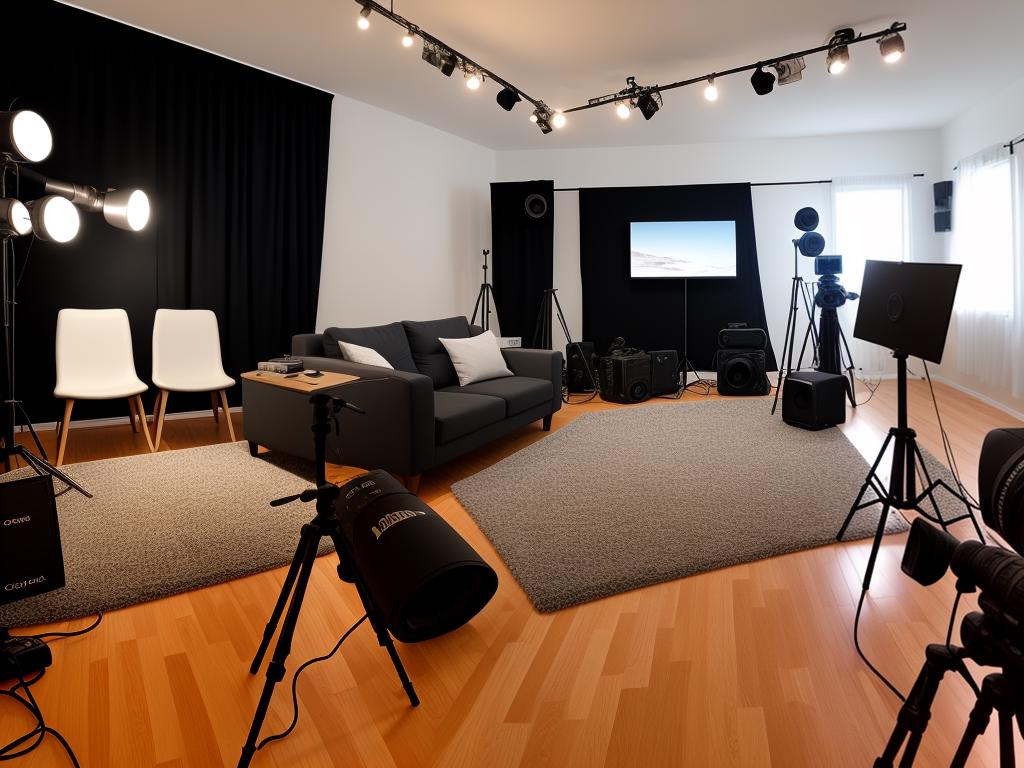
Exploring the Different Types of Studio Lights
Setting up your home studio lighting is crucial to achieving professional-quality recordings or broadcasts. Let’s explore some of the most common types of studio lights available: continuous lighting, strobe lighting, and LED lighting.
Continuous Lighting
Continuous or constant lights are lights that, once switched on, provide a continuous stream of light until they are turned off. Continuous lighting may come in the form of softboxes, umbrellas, ring lights, or panel lights.
One of the advantages of continuous lighting is that it allows you to see exactly how your lighting will look in your shot in real-time, making it easier to adjust to achieve the desired effect. However, continuous lights can have the downside of generating a lot of heat, and they can consume a significant amount of power.
Choose continuous lighting if you want immediate visual feedback, most commonly used in video production or beginner photography.
Strobe Lighting
Also known as flash or speedlight, strobe lighting provides short, powerful bursts of light. Strobe lights are typically used in photographic studios for still shots. The high-powered flash from a strobe light allows the camera to capture a rapid sequence of images in quick succession, making it perfect for capturing motion or creating striking still images.
Strobe lights are battery-powered, making them portable and versatile for various photoshoot scenarios. However, unlike continuous lights, they don’t offer real-time lighting feedback.
Strobe lighting is suitable when you need to freeze motion or provide a lot of light to a scene.
LED Lighting
LED lighting is a popular choice for many home studios because they are energy-efficient, produce little heat, and can offer a range of color temperatures. LED lights are also versatile, coming in a variety of formats, from small on-camera lights to larger light panels.
One key feature of LED lights is that they provide continuous lighting, but unlike traditional continuous lighting, they remain cool to the touch. They are also typically dimmable, allowing for greater control over the final look of your shot.
Choose LED lighting for a variety of needs, from video conferencing, YouTube videos, to professional photo and video shoots, thanks to their cool and controllable nature.
Remember, the type of lighting you choose should be based on the effect you’re trying to achieve and the nature of your project. Understanding how each light functions and can be manipulated lets you determine what fits best for your needs. Happy lighting!
Lighting Techniques
Background: Understanding the Basics of Home Studio Lighting
Setting up a home studio for photography can seem intimidating, but with some essential knowledge about different lighting techniques, you can easily craft an environment that fosters the perfect photo environment.
When setting up your home studio, it can be beneficial to study different lighting techniques such as Rembrandt lighting, butterfly lighting, loop lighting, split lighting, and flat lighting. Each of these techniques manipulates lights in unique ways to create a specific effect on your photographic subjects.
Rembrandt Lighting: Dramatic Portraits
Named after the famed Dutch painter, Rembrandt lighting is characterized by creating a small triangle of light on the subject’s cheek that’s furthest from the light source. This technique results in dramatic and dimensional images.
To achieve this effect, place your light source (such as a window or a softbox) at an approximate 45-degree angle from your subject. Adjust the height of your light source so that one side of your subject’s face is lit, while a small triangle of light appears on the opposite cheek.
Butterfly Lighting: Flattering and Versatile
Butterfly lighting creates a butterfly-like shadow under the subject’s nose, hence the name. It’s a versatile lighting technique often used in glamour and portraiture photography because it flatters the subject by minimizing imperfections.
Set up your light source directly behind your camera and slightly above your subject’s face. You may need to experiment with the light’s height and intensity to get the butterfly shadow just right.
Loop Lighting: Simplified Lighting
Loop lighting is relatively easy to set up and highly adaptable, making it an excellent choice for beginners. This technique creates a small shadow or ‘loop’ to one side of the subject’s nose, which gives depth and dimension to the face.
Place your light source to one side of your subject, elevated at a 45-degree angle. The key to perfecting loop lighting is ensuring the loop shadow does not extend beyond the corner of the mouth.
Split Lighting: Focus on Shadows and Highlights
Split lighting literally splits the face into equal halves of light and shadow, creating dramatic images that emphasize textures.
To achieve split lighting, place your main light source to the side of your subject, at the level of their face. Ensure half of their face is lit, while the other half is in shadow. Use a reflector on the shadow side if you wish to soften the effect slightly.
Flat Lighting: Minimize Shadows
Flat lighting technique minimizes shadows by lighting the subject straight on. This is a great technique for beginners as it reduces the complexity of setting up the lighting.
Simply align your light source with your subject, ensuring it’s directly in front. This will help create a well-lit subject with minimal shadow. This technique is often used in beauty photography to minimize imperfections.
Understanding and experimenting with these different lighting styles will allow you to manipulate your home studio lighting effectively to get the perfect shot. Experiment and adjust as needed, and you’ll see your photography skills grow in no time at all.
Positioning of Lights
Understanding Studio Lighting Basics
Setting up home studio lighting can greatly enhance your photography or video work, creating professional-looking results. To understand positioning, it’s important to first understand the three types of lights used in photography: key lights, fill lights, and backlights.
The key light is your main source of light. It’s usually the brightest and has the most influence on the look of the scene.
Fill light, as the name suggests, ‘fills’ in the shadows that the key light creates. This light is usually softer and less bright than the key light.
Backlight shines on the subject from behind, often used to create a ‘halo’ effect around the subjects or to distinguish them from the background.
Positioning Your Key Light
Your key light will be your strongest light source and should be placed to the side of your camera. From this position, the key light creates depth and casts natural-looking shadows, which will highlight the features of your subject.
The exact placement of your key light will depend on the look you’re going for, but generally, it’s positioned at a 30 to 45-degree angle to the camera.
Strategically Using Your Fill Light
Your fill light is used to eliminate unwanted shadows. It should not be as bright as your key light, or the result might be a flat, less-dynamic image.
Place your fill light on the opposite side of your camera from the key light. Depending on how soft or dramatic you want your shadows to be, you can adjust the fill light to be closer to or further away from the subject.
Taking Advantage of Backlighting
The backlight separates your subject from the background, creating depth in your image.
Place your backlight behind your subject and out of the frame of the camera. If you’re taking a headshot, for example, you would place the backlight behind the subject’s head. To avoid creating shadows with the backlight, make sure it’s higher than your subject and angled down slightly.
Summing Up Studio Light Positioning
With a well-placed key light, fill light, and backlight, you can create a dynamic, visually appealing image. It might take some adjustments and experimenting to get your lighting just right – but that’s part of the process! And as you continue to practice, you’ll develop a keen eye for lighting and be able to set up your lights more quickly and efficiently each time.
Setting Up Your Own Studio
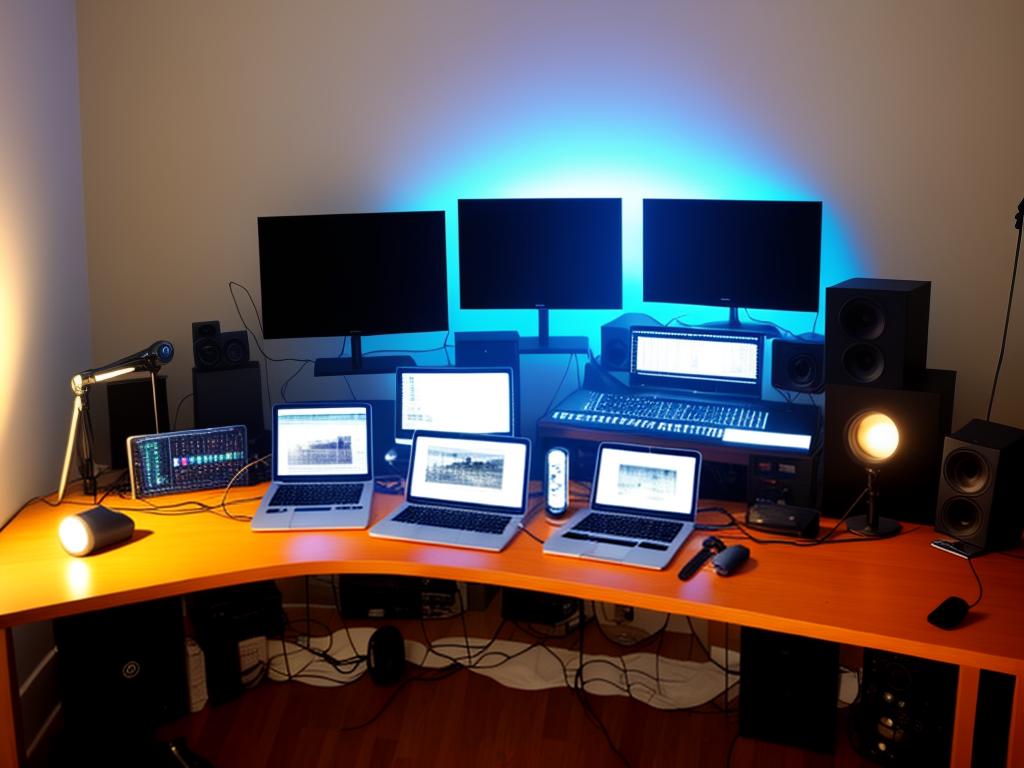
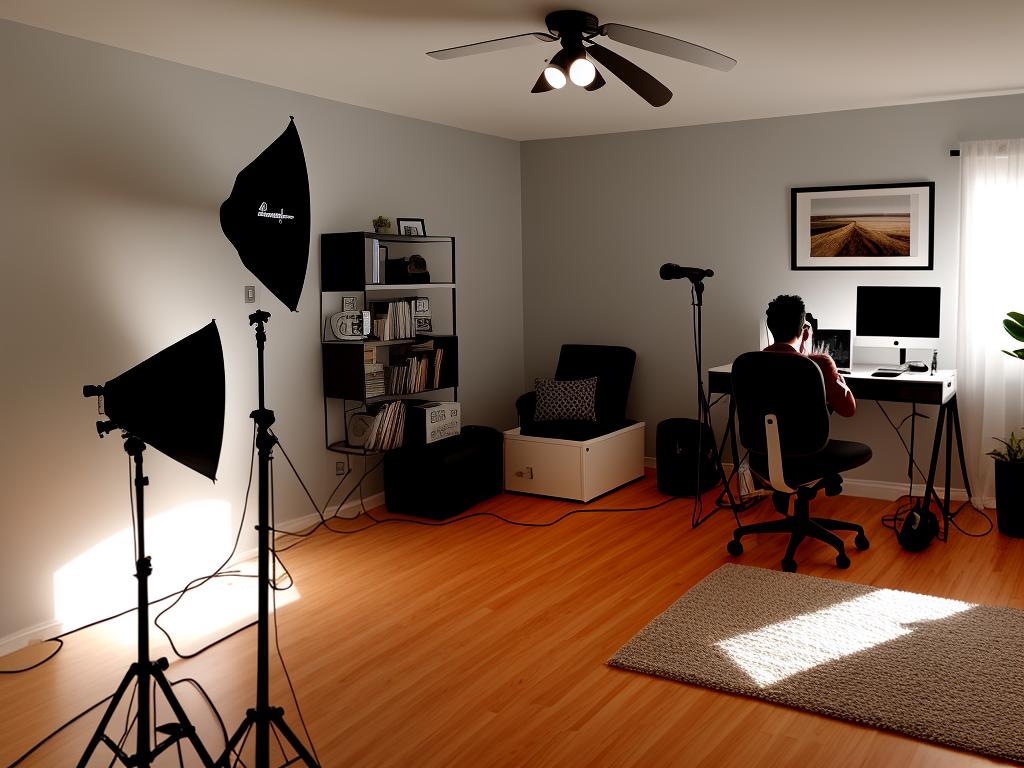
Getting Started: The Basics of Home Studio Lighting
Setting up home studio lighting can look daunting at first, but it doesn’t have to be. By acquiring a basic understanding of lighting techniques and principles, you can effectively illuminate your home studio like a professional. Whether your focus is on photography or videography, lighting plays a crucial role in the overall aesthetics and quality of your work.
Understanding the Concept of Three-Point Lighting
Before delving into the setup, it’s important to understand the concept of three-point lighting. This classic setup includes a key light, fill light, and back light.
- The key light is the main source of light that shines directly onto the subject.
- The fill light occupies a supportive role, softening any hard shadows cast by the key light.
- Finally, the back light, positioned behind the subject, accentuates the depth and dimension of the scene.
Understanding how to manipulate these three sources will give your work a professional touch.
Lighting Equipment
When it comes to choosing your equipment, you don’t necessarily need to break the bank. The essential supplies include light stands, light bulbs, and diffusers or softboxes. LED panels are also great options for home studios due to their cost-effectiveness and portability. Ensure to go for lights with adjustable intensity to allow for more flexibility in your setup.
Positioning Your Lights
Here’s how you can set up your lights in the classic three-point lighting setup:
- Position your key light at about 45 degrees to one side of the subject. This will help highlight the form and dimension of the subject.
- Set up your fill light on the opposite side of the key light to soften shadows without eliminating them completely. It should ideally be placed at a less intense setting than your key light.
- Use your back light to separate your subject from the background. Position it behind the subject, making sure it’s angled correctly to prevent lens flare.
Remember to play around with the placement and intensity of your lights to see what best fits your style and the mood of your shots.
Working with Natural Light
If you’re lucky enough to have natural light coming into your home studio, use it to your advantage. Position your subject near a window to make use of the soft, diffused light it provides. You can adjust and shape the light using a reflector or diffuser. Be flexible with your shooting schedule to accommodate the ever-changing nature of natural light.
Adjusting Camera Settings
When you’ve got your lighting in place, it’s time to adjust your camera settings accordingly. This includes the white balance, ISO, aperture, and shutter speed.
- Adjust the white balance to match the color temperature of your lighting setup.
- Manipulate the ISO for the desired brightness, but remember each adjustment can affect the graininess of your photos.
- The aperture setting can control how much light hits your camera sensor, influencing depth of field.
- Shutter speed can influence motion blur and the overall exposure of your photo.
Conclusion
Learning the basics of studio lighting setups can be the difference between mediocre and high-quality visuals. With a little practice and experimentation, you can definitely master the technique and produce professional-level content from your own home studio.
Additional Reading
Take some time to check out our other articles:
- How the Pending US Tariffs Impact the Music Industry (2025)
- Chart-Topping Deals: Musicians Who Sold Their Catalogs
- Tips On How To Earn 1000 Dollars a Month from Music in 2024
- Legends of Jazz: Unveiling the Most Influential Jazz Musicians of the 20th Century
- 10 Most Influential Music Producers of All Time
Breve Music Studios publishes music to Spotify, YouTube Music, Amazon Music and more. Follow our pages on Facebook, Instagram, Twitter, TikTok, and YouTube.
Listen to our ensembles: Breve Orchestra, Breve Music Ensemble, Breve Low Brass Ensemble, Breve Woodwind Ensemble, and Jermaine Harris on Spotify.
