Table of Contents
Introduction
Having a budget friendly home studio is important for musicians of all levels. The focus of this article is to highlight a few useful tools for your studio that cost less than $100. You’ll also learn how to source affordable yet functional audio equipment and lighting to make your studio excellent.
Best Microphones Under $100
If you’re just starting with music production or have a limited budget, an entry-level microphone is a great place to begin. These microphones are affordable and still offer decent quality recordings.
- Audio-Technica AT2020: This is a popular choice because of its low price point and impressive sound quality. It has a cardioid polar pattern that helps reject unwanted background noise.
- HyperX QuadCast: This microphone has 4 selectable polar pattern and is great choice for musicians who hosts podcasts and YouTube channels. It has a convenient tap-to-mute functionality and an easy-to-use gain knob.
- Rode NT1-A: This microphone is known for its exceptional clarity and detail. It has a cardioid polar pattern and is ideal for recording vocals and acoustic instruments.
Best Headphones Under $100
- Audio-Technica ATH-M20x: These headphones provide excellent value for their price, offering a frequency range of 15Hz – 20kHz and 40mm drivers for clear and accurate sound.
- Sony MDR-7506: These are a classic choice for music production, known for their clear and detailed sound reproduction, and a frequency range of 10Hz – 20kHz.
- AKG K240: These headphones are known for their comfort, and they deliver a balanced sound with a frequency range of 15Hz – 25kHz.
Now we’ll share how you can find equipment at an affordable price.
Sourcing Affordable Equipment
Breaking Down the Basics: Affordable Home Studio Equipment
The task of setting up a home studio could be a daunting feat especially if it comes with the perception of expensive equipment. However, you can still craft quality recordings and productions without breaking the bank. All it takes is some creativity, resourcefulness, and useful tips on sourcing affordable equipment.
Scouring Second-Hand Marketplaces
The world of second-hand retail presents a treasure trove of equipment needed for your home studio. Websites like eBay, Craigslist, and even Amazon’s “Used & Open Box” section are great options. Thrift Stores, Garage Sales, or local pawn shops can also offer worthy gems at low prices. You may find microphones, headphones, acoustic instruments, keyboards, and mixers, among others, that would likely be way cheaper than their brand-new counterparts.
Remember to check the condition of the equipment, ask questions about its functions and history, and possibly request a product demonstration before the purchase to forestall any potential issues down the line.
Re-Purposing Pre-existing Tech Gadgets
You may be surprised at how many multi-purpose gadgets you have around your home that could effectively double as studio gear. For example, your computer is the heart and soul of your music production rig. It is used for recording, generating sound, effects processing, and mixing.
If you have a decent smartphone, it can be turned into a handy recording device using various audio recording apps available. There are apps that let you convert your phone into a capable field recorder. This setup is perfect for capturing vocals, acoustic guitars, and ambient sounds.
If you have old speakers lying around, they can be re-purposed into studio monitors. The role of these speakers is to project the mixed track akin to how audiences would hear it on common audio devices. This would save you money, as studio monitor speakers tend to be costly.
Gaming headphones can also function as studio headphones, especially if they have a flat frequency response. This type of headphones lets you hear the natural sound of your recordings which may help in achieving a balanced mix.
Inexpensive Audio Interfaces
A good audio interface effectively connects your instruments and microphones to your computer, boosting the sound quality of your recordings. You don’t have to dig too deep into your pockets for this equipment. Look for budget-friendly brands like Behringer or PreSonus. These brands offer reliable function at an affordable price.
Affordable Acoustic Treatment
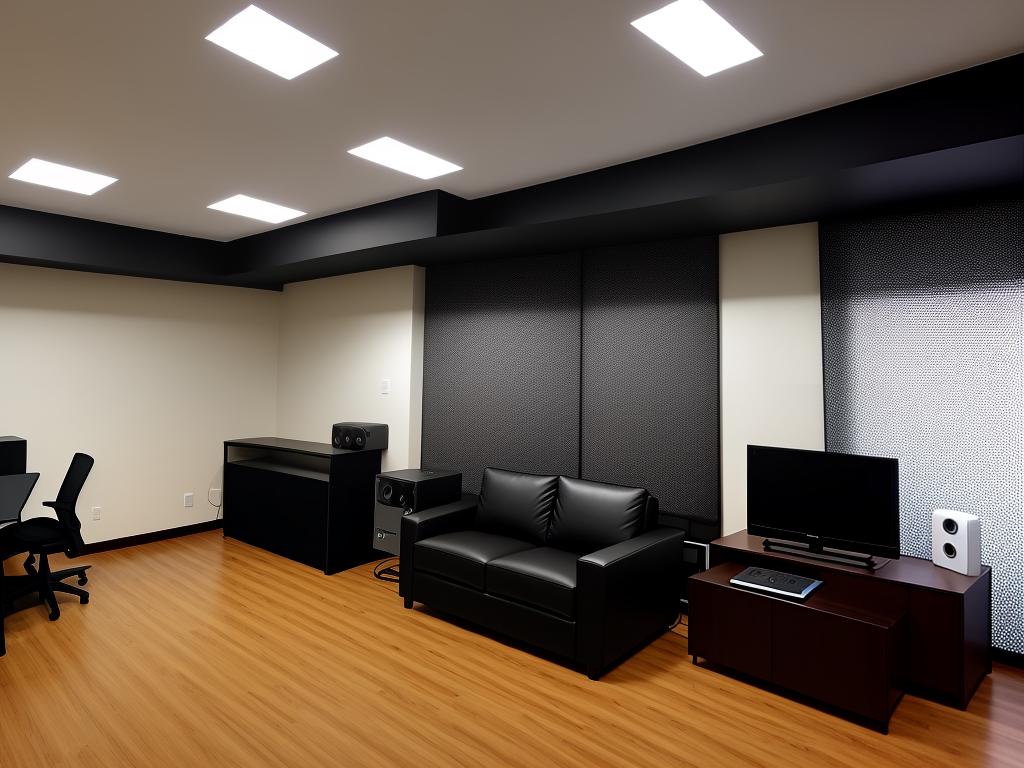
Soundproofing can be costly, but it’s not always necessary especially for beginners. Rather, focus on improving the acoustics within your room working on aspects such as echo reduction. A few affordable options include strategically hanging blankets or curtains, or utilizing bookshelves filled with books as diffusers.
Setting up a home studio for under $100 is a feasible project. All it requires is a strategic approach to sourcing the equipment, patience, and some degree of resourcefulness. Test out what works for you and remember, creating magic in your studio isn’t about the money you spend, but about the skill and passion you bring to the table.
DIY Acoustic Treatment
The Basics: Understanding Acoustics
Acoustics is the field that studies the behavior of sound. When sound waves travel, they can be absorbed, reflected, or diffused based on the materials they encounter. By influencing these characteristics, you can greatly improve the quality of sound in your home studio.
In a room, sound waves can bounce off hard surfaces, leading to reflections. These reflections can cause echo or reverb, which can muddy your recordings. To control these reflections, you’ll require absorption and diffusion.
Absorption
Absorption refers to turning sound energy into heat. Thick, porous materials are especially good at this, as sound waves get trapped and converted into minute amounts of heat. Absorbing sound reduces echo and unwanted noise, providing a cleaner sound.
For this, you don’t need expensive professional absorbers. Everyday household items like heavy curtains, thick blankets, or carpeting can be used effectively.
Diffusion
Diffusion is the process of evenly dispersing sound waves throughout a room. Diffusers scatter the sound waves in many different directions, reducing the intensity of the reflections and giving a more natural sound to your recordings.
You can DIY a diffuser using materials like wooden blocks or even books. The idea is to have a surface with different depths, and by simply arranging books of different thicknesses and sizes on a bookshelf, you can create an effective diffuser.
Building Your Budget Friendly Home Studio
Controlling Reflection, Absorption, and Diffusion
Here’s a step by step guide to treat your room for better sound under $100.
- Find the Reflective Points: In your room, identify the points where sound is reflecting the most. These are usually flat, solid surfaces like walls, ceilings, or floors.
- Install Absorbent Materials: Use blankets, heavy drapes, or carpet on these reflective points to absorb the sound. Rug pads or foam mattress pads can be used as affordable sound-absorbing alternatives. The goal is to cover as much of the reflective surfaces as possible.
- DIY Sound Diffusers: Get creative and make your own diffusers. You can use a bookshelf with books of various sizes or even create something custom with scrap wood.
- Control the Bass: Low frequency sounds are harder to control and often need bass traps in order to prevent them from muddying up your recordings. Fortunately, you can DIY these as well with super chunky foam or insulation panels, placed strategically in the corners of your room.
- Position Correctly: Correct positioning is key. Your speakers should be at the same height as your ears and positioned at an equilateral triangle relative to your sitting position.
- Careful Calibration: Each room is unique. After setting up, take the time to listen and adjust as needed.
Remember acoustics is a complex field and a perfect setup usually requires some experimentation. But with the basics in mind and a little creative thinking, you can significantly improve the sound in your home studio.

Proper Set-Up and Equipment Placement
Understanding the Art of Home Studio Set-Up
Creating a functional home studio does not need to be an expensive venture. With $100 budget and some ingenuity, you can record, mix, and produce music just like the professionals. This begins with optimal space management and equipment placement for an efficient workflow.
Finding the Perfect Space
First, identify the space for your home studio. Ideally, this room should be away from the hustle and bustle of daily life to minimize interruptions and background noise.
Room Layout Optimization
Consider how to maximize your room’s layout. If the room is square, try placing your workspace in the corner to get the most out of the space. If it’s rectangular, setting up on a long wall might prove more beneficial. To minimize sound reflections, orient your setup so you are facing the shorter wall of the room.
Placing Your Monitors
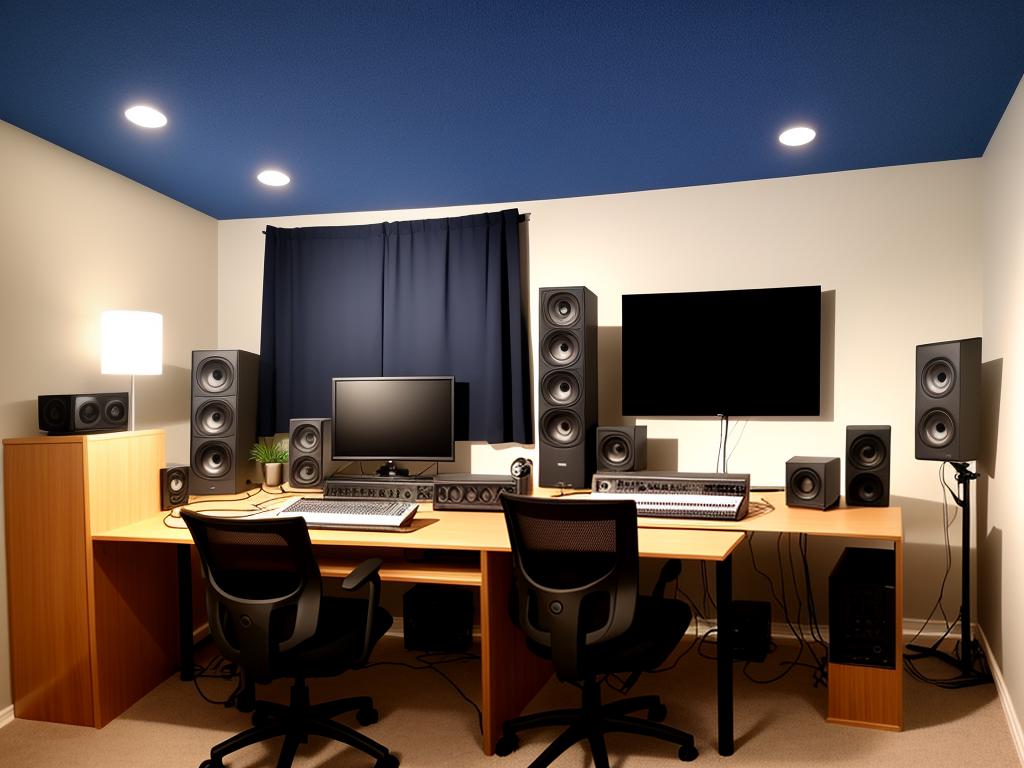
Monitor placement is essential for achieving optimal sound quality. Your monitors should form an equilateral triangle with your sitting position. They should be at ear level and angled slightly inwards towards your head – a 60-degree angle is generally well-accepted.
If you can’t mount your monitors on stands, desk placement is an option. However, this may cause extra vibrations, so consider using isolation pads to minimize this.
Creating an Efficient Workflow
Arrangement of your gear should promote an efficient workflow. Keep your most-used items within easy reach. For instance, keyboard and mouse should be directly in front of you, with your audio interface to one side but still within reach.
Keep additional items, such as your MIDI controllers, synthesizers, or outboard gear, on a separate surface to your right or left — whichever feels most natural. The goal is to be able to work without unnecessary movements or distractions.
Additional Equipment and Accessories
With the remaining budget, invest in essential accessories. Cables for connecting your equipment are crucial. Microphone stands, pop filters or shock mounts might also be necessary depending on your setup.
You might also need acoustic treatment to improve the sound quality of your studio. While professional options can be pricey, DIY solutions such as hanging thick blankets on the walls or using bookshelves filled with books as diffusers can work quite well on a budget.
Remember, the core of your studio is your creativity; money can’t buy that. Use this guide to set up the most effective space for your needs, and let your creativity flow.

Conclusion
Breaking into the music production scene does not have to be a luxury only a few can afford. By learning how to source affordable equipment, treating your room for acoustics on a budget, and understanding the science of proper equipment placement and optimized workspace, you can create a functioning home studio under $100.
Just remember, while high-end gear may have its perks, the essence of good music production lies in the hands of the operator. Passion, creativity, and understanding the basics can go a long way. Here’s to setting the stage for successful, budget-friendly music production in the comfort of your own space!
Additional Reading
Now that you’ve learned about music industry jobs, take some time to check out our other articles:
- How the Pending US Tariffs Impact the Music Industry (2025)
- Chart-Topping Deals: Musicians Who Sold Their Catalogs
- Tips On How To Earn 1000 Dollars a Month from Music in 2024
- Legends of Jazz: Unveiling the Most Influential Jazz Musicians of the 20th Century
- 10 Most Influential Music Producers of All Time
Breve Music Studios publishes music to Spotify, YouTube Music, Amazon Music and more. Follow our pages on Facebook, Instagram, Twitter, TikTok, and YouTube.
Listen to our ensembles: Breve Orchestra, Breve Music Ensemble, Breve Low Brass Ensemble, Breve Woodwind Ensemble, and Jermaine Harris on Spotify.

