Table of Contents
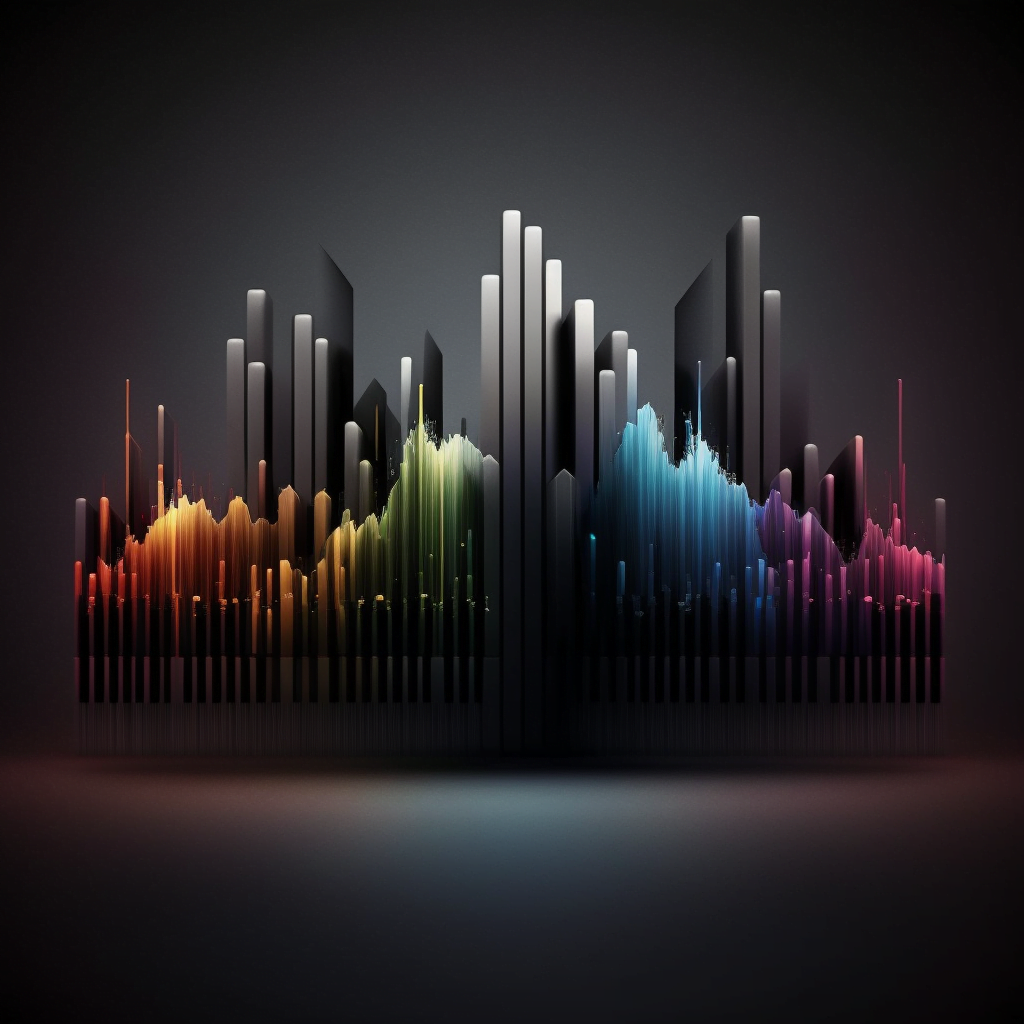
Intro to Equalization
Equalization (or EQ), is a fundamental tool used in music production and audio engineering to adjust the balance of frequencies in an audio signal.
An EQ allows you to boost or cut specific frequencies in a sound or a mix, helping to shape the tone, timbre, and overall sound of a recording. EQs are commonly used in music production, mixing, and mastering to achieve clarity, balance, and cohesion in the audio.
EQs come in various forms, including hardware and software, and they typically have multiple frequency bands that can be adjusted independently. Each band represents a range of frequencies, such as low frequencies (bass), mid frequencies, and high frequencies (treble).
Types of Equalization
The three most common types of EQs are parametric, graphic, and shelving EQs. Here is more info about each of the three:
1. Parametric Equalization
A parametric EQ allows you to adjust the frequency, gain (boost or cut), and bandwidth (Q) of each individual frequency band. This gives you precise control over the specific frequencies you want to boost or cut, and how wide or narrow the adjustments should be. Parametric EQs are highly versatile and commonly used in music production and mixing for precise tonal shaping.
2. Graphic Equalization
A graphic EQ has fixed frequency bands with sliders that control the amount of boost or cut for each band. Graphic EQs are typically used for broad adjustments across multiple frequency bands and are commonly found in live sound setups, PA systems, and consumer audio devices.
3. Shelving Equalization
A shelving EQ allows you to adjust the gain for all frequencies above or below a certain frequency point. For example, a low shelving EQ can boost or cut all frequencies below a certain point, affecting the bass frequencies, while a high shelving EQ can do the same for the high frequencies.
5 Uses for Equalization
EQs are used for a variety of purposes in music production and audio engineering. Here are some common uses of EQ in music production:
1. Tonal shaping
EQs are used to adjust the tonal balance of a sound or a mix, helping to bring out certain frequencies or instruments and control the overall frequency balance. For example, you can use Equalization to boost the low frequencies of a bass guitar to make it sound more prominent, or cut the harsh frequencies in a vocal recording to make it sound smoother.
2. Corrective Equalization
EQs are used to correct any tonal imbalances or resonant frequencies in a recording. For example, you can use EQ to cut out unwanted rumble or low-frequency noise in a recording, or to tame harsh or piercing frequencies that may be present in certain instruments or vocals.
3. Frequency separation
EQs are used to separate different instruments or elements in a mix by carving out their frequency ranges. This can help create space in the mix and prevent frequency masking, where certain instruments or frequencies clash and compete for attention.
4. Special effects
EQs can be used creatively to achieve special effects, such as creating a telephone-like sound by cutting the low and high frequencies of a recording, or creating a vintage or lo-fi sound by boosting or cutting certain frequency bands.
5. Mastering
EQs are commonly used in the mastering stage of music production to shape the overall frequency balance of a mix and prepare it for distribution. This may involve making subtle adjustments to the low-end, mid-range, and high-end frequencies to ensure that the mix translates well across different playback systems.
How To EQ Effectively
It’s important to note that using equalization effectively requires a trained ear and experience, as it can significantly impact the overall sound and tone of a recording. It’s essential to understand the frequency ranges of different instruments, how they interact with each other, and how different EQ adjustments affect the overall sound.
Properly using EQ in music production can result in a balanced and polished mix, while improper use can lead to an unnatural or unbalanced sound. It’s important to use EQ judiciously and in context with the specific audio material you are working with.
When using EQ, it’s also important to keep in mind the concept of “less is more.” Overuse of EQ, especially excessive boosting or cutting of frequencies, can result in an artificial or unnatural sound. It’s generally best to make subtle adjustments and use EQ as a tool to enhance the natural characteristics of the audio rather than trying to completely change or fix it.
In addition to using your ears, it’s also helpful to use visual aids such as frequency analyzers or spectrum analyzers to visually see the frequency content of the audio material and guide your EQ adjustments. Many EQ plugins or hardware units also provide visual representations of the frequency adjustments being made, which can be useful in understanding the changes being applied.
It’s also worth noting that EQ is just one tool in the arsenal of audio processing techniques. It’s often used in combination with other processing tools such as compression, limiting, and reverb, among others, to achieve the desired sound for a recording.
Step-By-Step Guide For EQ
Doing an EQ refers to the intentional adjustment of the balance of frequencies in an audio signal to achieve a desired tonal character or timbre. It involves selectively boosting or cutting specific frequency ranges to enhance or modify the overall sound of a recording.
Here’s a step-by-step process for tonal shaping with EQ:
- Identify the target frequencies: Listen carefully to the audio signal and identify the frequencies that you want to emphasize or reduce. This could be the low frequencies (bass), mid frequencies, or high frequencies (treble) that you want to adjust to achieve the desired tonal balance.
- Choose the appropriate EQ type: Depending on the specific adjustments you want to make, choose the appropriate type of EQ. Parametric EQs offer precise control over frequency, gain, and bandwidth, allowing you to make narrow or wide adjustments to specific frequency bands. Graphic EQs have fixed frequency bands with sliders that control the amount of boost or cut, making them suitable for broader adjustments across multiple frequency ranges. Shelving EQs allow you to adjust the gain for all frequencies above or below a certain frequency point, making them useful for adjusting the bass or treble frequencies.
- Adjust the frequency, gain, and bandwidth: Use the EQ controls to adjust the frequency, gain (boost or cut), and bandwidth (Q) of the selected frequency range. Boosting a frequency will increase its volume, while cutting will decrease it. The bandwidth or Q determines the width of the adjustment, with a narrower bandwidth affecting a smaller range of frequencies, and a wider bandwidth affecting a broader range of frequencies.
- Listen and fine-tune: As you make adjustments, carefully listen to the changes in the sound and make fine-tuning adjustments as needed. It’s important to use your ears and trust your judgment to achieve the desired tonal balance. Experiment with different settings and listen critically to how the changes affect the overall sound.
- Consider the context: Keep in mind the context in which the audio signal will be used, such as the genre of music, the intended playback system, and the overall mix. Consider how the tonal adjustments you’re making with EQ will fit in with the other elements in the mix and contribute to the overall sonic balance and cohesion.
- A/B testing: Finally, compare the original sound with your EQ adjustments using A/B testing, where you switch between the unprocessed and processed sound to ensure that the tonal shaping with EQ has achieved the desired result.
By using EQ, you can effectively enhance or modify the frequency balance of an audio signal, shaping its overall tonal character to achieve the desired sound in your music production.
Conclusion
Equalization is a powerful and essential tool in music production and audio engineering that allows you to shape the tonal balance of an audio signal. Properly using EQ can result in a polished, balanced, and professional sound, but it requires a trained ear, experience, and an understanding of the frequency ranges of different instruments and how they interact with each other.
Additional Reading
Want to learn about two of the top plugins for Equalization? Read our article comparing iZotope and FabFilter.
Interested in finding a solid midi controller for music production? Read our article about the 6 of the best midi controllers. Also, here are 9 of the best microphones for musicians and 9 great headphones for music production.
Breve Music Studios publishes music to Spotify, YouTube Music, Amazon Music and more. Follow our pages on Facebook, Instagram, Twitter, TikTok, and YouTube.
Listen to our ensembles: Breve Orchestra, Breve Music Ensemble, Breve Low Brass Ensemble, Breve Woodwind Ensemble, and Jermaine Harris on Spotify.
